Copyright © 1999, William Weiland
Express Order permits batch entry of product codes for addition to the shopping basket. Note: Since you are only entering product code and quantity, you cannot use Express Order for products which contain attributes. If a customer tries to add a product with attributes, they will see the admin configurable message.
There are two files in the express.zip distribution file. Unzip express.zip. Upload the express.mvc as a module (steps 1-19). The exor.mvt is a template and is copied and pasted per the instructions when you get to that step.
1) In admin, click Add Modules link (fig 2)
2) Click the file upload button
3) Browse to find the express.mvc file on your hard drive and upload (fig 3)
4) Click Add to add it to the domain
5) Then in admin click on the plus to the left of Stores
6) Click the plus to the left of your store name
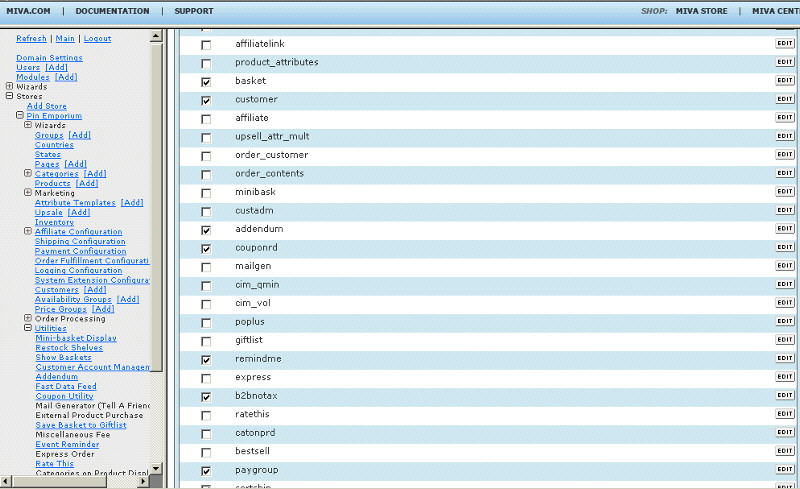
7) Click on the word Utilities under your store (fig 9)
8) Check the box next to Express Order
9) Click Update
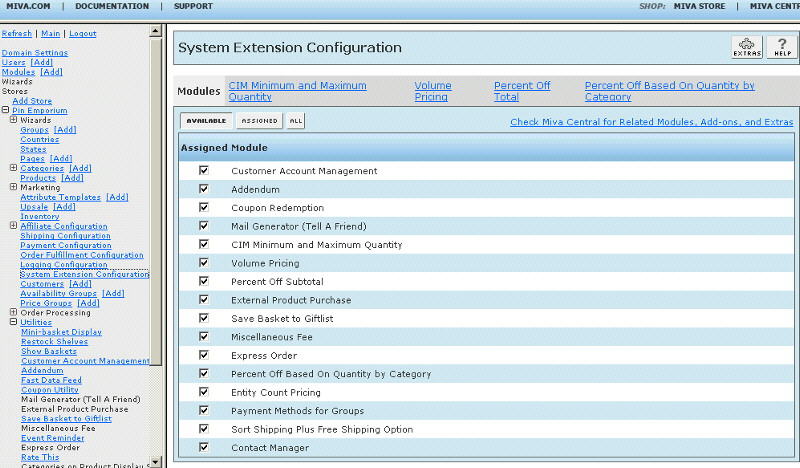
10) Click on System Extension Configuration link (fig 10)
11) Check the box next to Express Order
12) Click Update
13) Click Pages link to get to the User Interface (fig 4)
14) Click Items link at the top of the User Interface page (fig 5)
15) Click the Add Item button (fig 6)
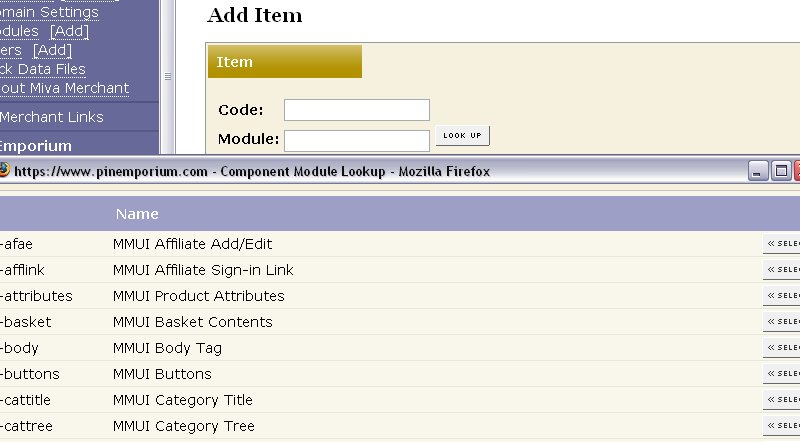
16) Enter express for the code (fig 8)
17) Look up and scroll to the last page of items and Express Order should be at the end of the list of items
18) Select Express Order
19) Click the Add button to assign the module
20) Again, click Pages link to the User Interface (fig 4)
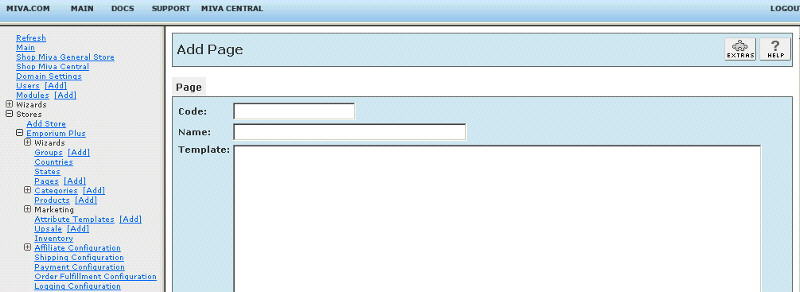
21) Click the Add Page button
22) Enter the page Code as EXOR (fig 7)
23) Enter the page Name as Express Order
24) To get started, copy the contents of exor.mvt (exorcss.mvt if your store is CSSUI) to the clipboard and paste it into the page Template input and click the Add button. Note: this is a complete page with several lines. If your text editor opens it as an html file, you will need to view source in order to copy the contents to the clipboard.
25) Click on the Items link at the top and assign the following items to the page and update; head, hdft, store, body, category_tree, navbar, colors, fonts, customerlink, affiliatelink, express
26) See the editing requirements below on how to add the Express Order button to pages in the store. You can put the button on any page. As you can see, it is already in the newly created EXOR page.
The prompt and prompt image URL are used in the prompt to display the Express Order form button.
The default column headings are Product Code and Quantity. You can change those labels.
You can add a header and footer to the screen which contains the Express Order form.
You can change the entry form template and then select to not use the default template, but instead use your modified template.
The module is called within specific template screens with render tokens. They are in the format of
<mvt:item name="itemcode" param="xxxx" />
The templates are listed at the Pages link. You will edit the template by inserting the token and clicking the Update. Important: After adding the render token to a template page, you must click the Items link for that page, scroll down to the item name and assign it to the page (fig 8). These two steps are repeated for every page that a module's render token is used on. On the pages where you want the button to appear, insert
<mvt:item name="express" param="button" />


